
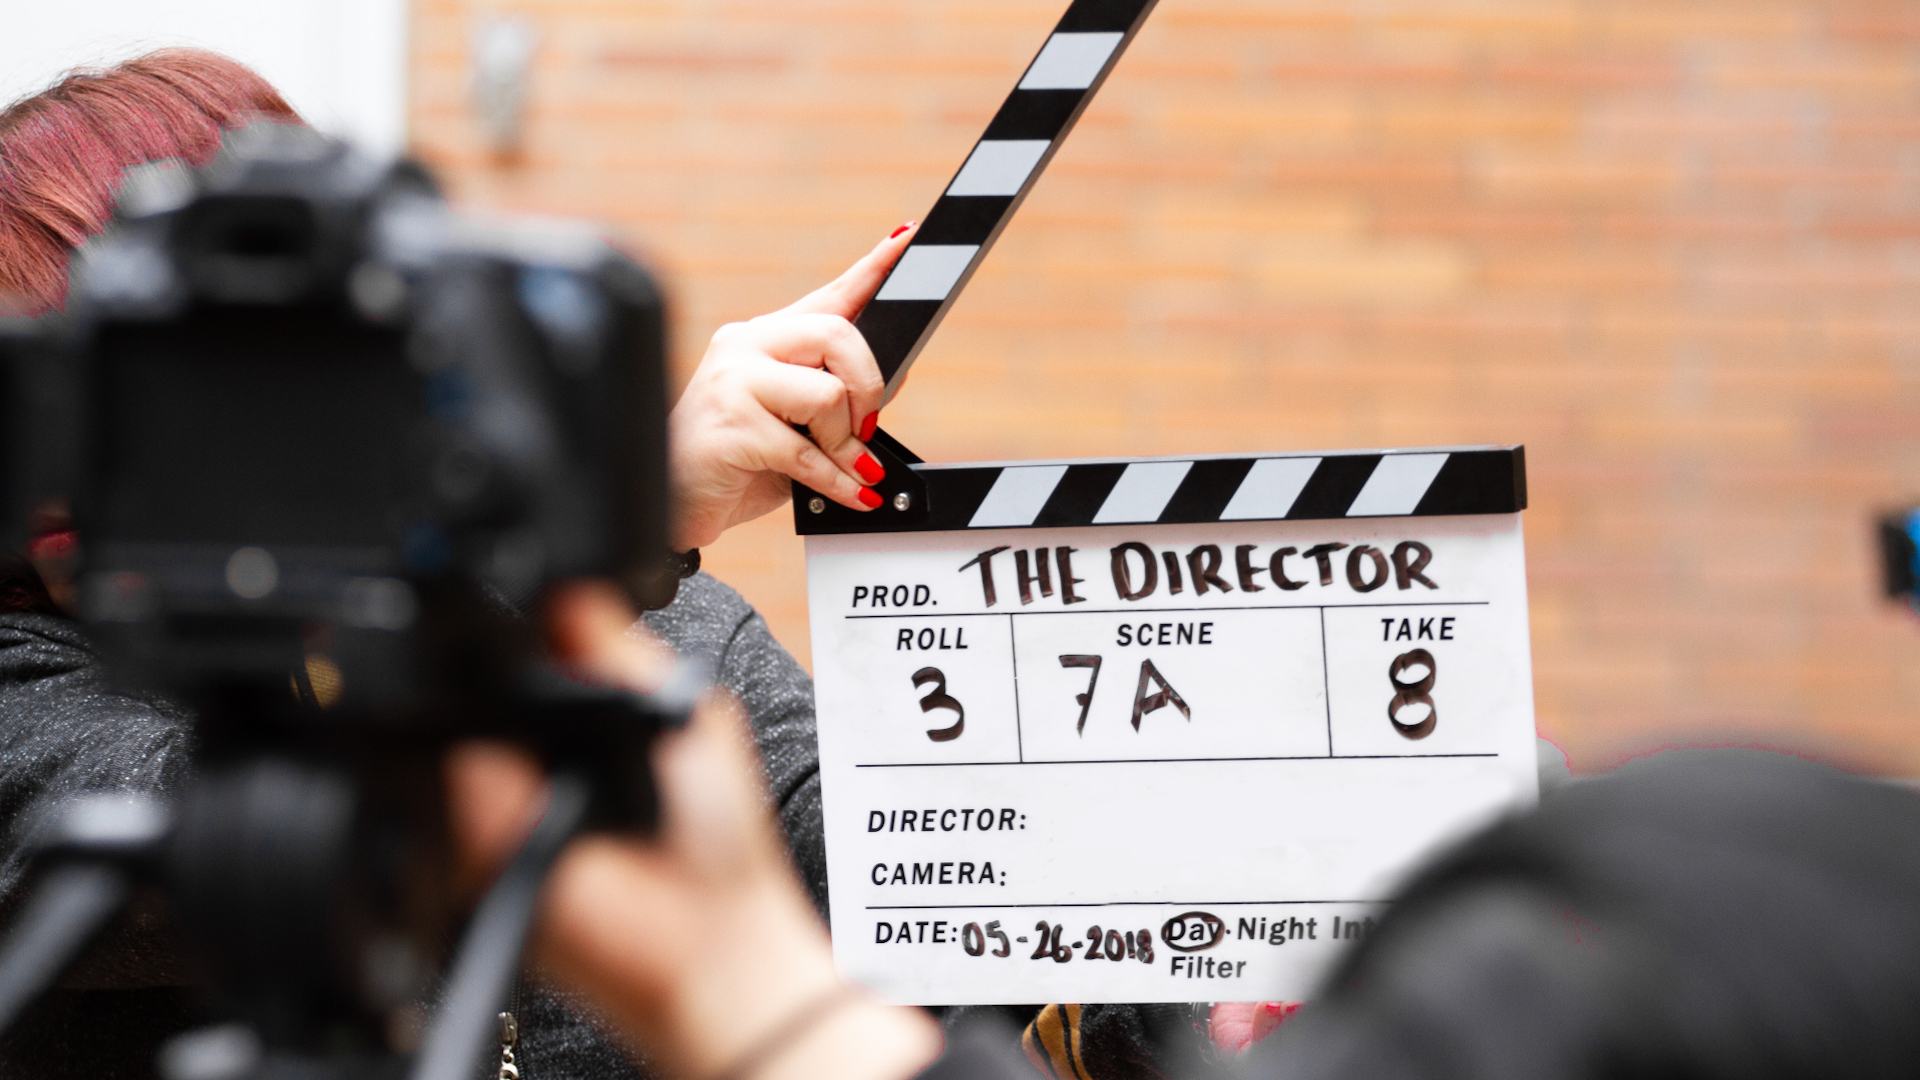
In this post series, I unpack the three stages of the video production process and share insights that will help you with your next video project. I discuss each stage in detail and elaborate on important topics specific to each stage. My goal is to equip you with as much information as I can to help you kickstart your video making journey
Video production can be daunting, and depending on the size of your production, things can get crazy very quickly if you don’t have a plan. That is where the video production process comes in, it equips you with a framework that moves your video project forward in logical chronological steps, it essentially brings your vision to life.
The video production process consists of three stages: Pre-Production, Production, and Post-Production. Pre-Production is the planning stage, Production is the creation stage where we film our video and Post-Production is the editing stage where we put everything together in a final video. Each stage is essential to efficiently produce a finished video.
Awesome! Let’s jump in! We will start with Pre-Production.
The Pre-Production Stage of the Video Production Process:
The pre-production stage is the planning stage of the process. There are many things you need to consider before you hit record so you can see this stage as the foundation and launchpad for your entire video project.
Set a goal.
First, you need to come up with the overall goal of your video and what you would like to achieve with it. This is your reason for creating the video and it will guide everything you decide throughout the process. Think of it as the WHY?” of your video, its purpose. Videos can have many purposes; your goal might be to teach and build community, to influence change, to market or sell your product, service, or brand, or maybe you just want to entertain, totally up to you!
Find your audience.
You must decide on your target audience, these are the people that you would like to reach and influence with your video message. What can be very helpful here is to create a persona that represents your perfect viewer or customer who needs the content that you will be sharing. This will help when structuring your video as you can create content with your perfect persona in mind.
Define your message.
Closely related to the purpose of the video is its message, this is the core message that you want to get across to your target audience. Here you will start thinking of the specific information that you would like to share, and you will start writing down concepts and brainstorming ideas and even start writing draft scripts and story outlines.
Find inspiration.
Once you’ve decided on your video goal, message, and the audience it is time to think of the visual style of your video. Get some inspiration on sites like Instagram, YouTube or Netflix and think of movies that have inspired you in the past. Download images and make screenshots of photos and videos that inspire you; look at camera movement and composition and look at how colour was used in scenes. Dream and let your imagination run wild. Once you’ve collected all your inspirational images and screenshots, create a mood board that you can reference later when creating your storyboard and shot list.
Craft your story.
Now that you have an idea of what you want to do with your video it is time to get down to the nitty-gritty of your story. Here you will decide on the flow the video by writing your video script. A great starting point is to make use of script templates and storytelling frameworks. The script is very important as it guides the flow of the video content, shot list and storyboard, and later in the post-production stage, it will be your guide as you put everything together in your final edit with your favourite video editing program. A good script template to start with is the simple two-column commercial script template that has a Visual or Video column on the left and Audio column on the right. In the Visual column, you describe in detail what should happen onscreen and what visuals should appear in sync with the audio described in the Audio column, you can also include images from your brainstorming session for visual reference. The Audio column contains the text of the script which includes the voice-over and Dialogue. You can also break your script up into different scenes.
To help structure your script and speed up your workflow you can make use of a storytelling framework or story structure. A storytelling framework is like a paint-by-numbers story structure with a sequence of sections optimized for effective storytelling which you can populate with your own unique message. Great storytelling frameworks include the Hero’s Journey, the Pixar Storytelling Framework and the SCQA Framework (Situation, Complication, Question, Answer).
Design the storyboard and shot list.
Okay great! So, once you have your script down it is time to move on to your storyboard and shot list. These are especially useful if you are shooting with a team, as it keeps everyone on the same page in terms of story flow and visual style. The storyboard is also a great way to sell the concept of the video if you are shooting for a client. The storyboard is the visual representation of your script and it helps you to envision how the video will flow onscreen. Here you get more specific about the aesthetics, composition and look and feel of the video as well as the motion graphics and titles. A typical storyboard displays image frames with captions describing the visuals, action, voice-over and dialogue. Closely related to the storyboard is the shot list, here you get very specific on the types of shots that you want to get on the shoot which includes camera angles, framing and movement. Your research, inspiration and mood board come in very handy at this stage and you can include visual references to filming styles that you would like to use in your video.
Casting your talent.
Once your script, storyboard and shot list are ready for action you need to start organising the shoot. Here you will decide on the talent that you will be using in your video, they can include paid actors, models, extras, people on the street, or even just you. If you’re filming people you must make sure that you have their permission and that they sign model release forms. If your video includes dialogue and narration you will need to recruit actors and voice-over artists and make sure that they receive the script with enough time to rehearse.
Location scouting.
You must decide on the film location and film set. If you are filming on-location, make sure that you have permission to do so and have the property owner sign a property release form. It is a good idea to scout locations and do a site recce or inspection before you film. Always think of safety and security, you might want to hire security guards if you will be shooting in dodgy areas. If you’re shooting in studio think about your film set and the props and furniture that you need based on your script and storyboard.
Camera crew and gear.
Next, you will decide on the camera gear and lighting that you will need for the shoot, this will be influenced by the visual style that you’re after and your budget. If you are working on a larger production you will need to hire a camera crew which include videographers, sound operators, stylists, and make-up artists.
Awesome! All you need to do now is create a production schedule and set a shoot date and you’re all set for the next stage of the video production process, the Production Stage.
See you in the next post where I will be discussing the Production Stage of the Video Production Process in detail.


