
Welcome to Part 2 in my three-part series on the Video Production Process. In Part 1 of the series, Video Pre-Production, I chatted about how to find inspiration for your video, brainstorm ideas, decide on an audience and how to write a script and design a storyboard. If you missed Part 1 you can check it out here: Video Pre-Production.
In this post, I delve into the Video Production Stage of the Video Production Process.
The Production Stage of the Video Production Process:
Lights, camera, action! This is where the magic happens. Armed with your script, storyboard, shot list and production schedule you’re ready to roll. In this stage, you get to film your video. You have done all your planning; everything is organised, and now you can get stuck into creating your masterpiece.
Stick to the plan.
On the shoot day try to follow the production schedule as closely as possible, this will help you to keep the energy up and the costs down. Use your script, storyboard and shot list to guide the shoot and to make sure that you get all the shots needed for the edit; this will include scripted scenes, interviews, and b-roll footage.
Also, be open to improvise on the day, cool unexpected surprises might pop up that could look really great in the final edit. Play around with different camera angles, movement and framing to get the look that you’re after based on your shot list.
Be nice to people.
When filming people, be friendly and make them feel comfortable. Always have a plan for how you will be directing and posing people. If you’re conducting interviews, try not to interrogate your subject, rather make the interview more conversational and guide them to include your question in their answer, this will give you more options for the edit.
Make sure that your talent signs model release forms giving you permission to use them in your video. When framing your shots make sure that there isn’t anything distracting in the background and take note of noisy furniture or jewellery that could mess with your audio.
Depending on where you’re shooting you might need to invest in security, never put yourself or your crew in danger unnecessarily. Always make sure that there is enough water on set and that there is food catering for the crew.
Wardrobe, hair, and make-up.
Larger productions normally have dedicated professionals that manage the wardrobe, hair, and make-up on set. But if you’re on a budget you can ask your talent to bring a few different wardrobe options to the shoot and you can brief them beforehand on the style and look that you’re after. Build up a make-up kit overtime with different shades of powder to control the shine on your subjects’ faces.
During shoots always keep an eye on your talent’s hair and clothes to make sure that nothing is out of place and to make sure there is continuity throughout the shoot.
And now for my favourite part – FILM GEAR!
Cameras.
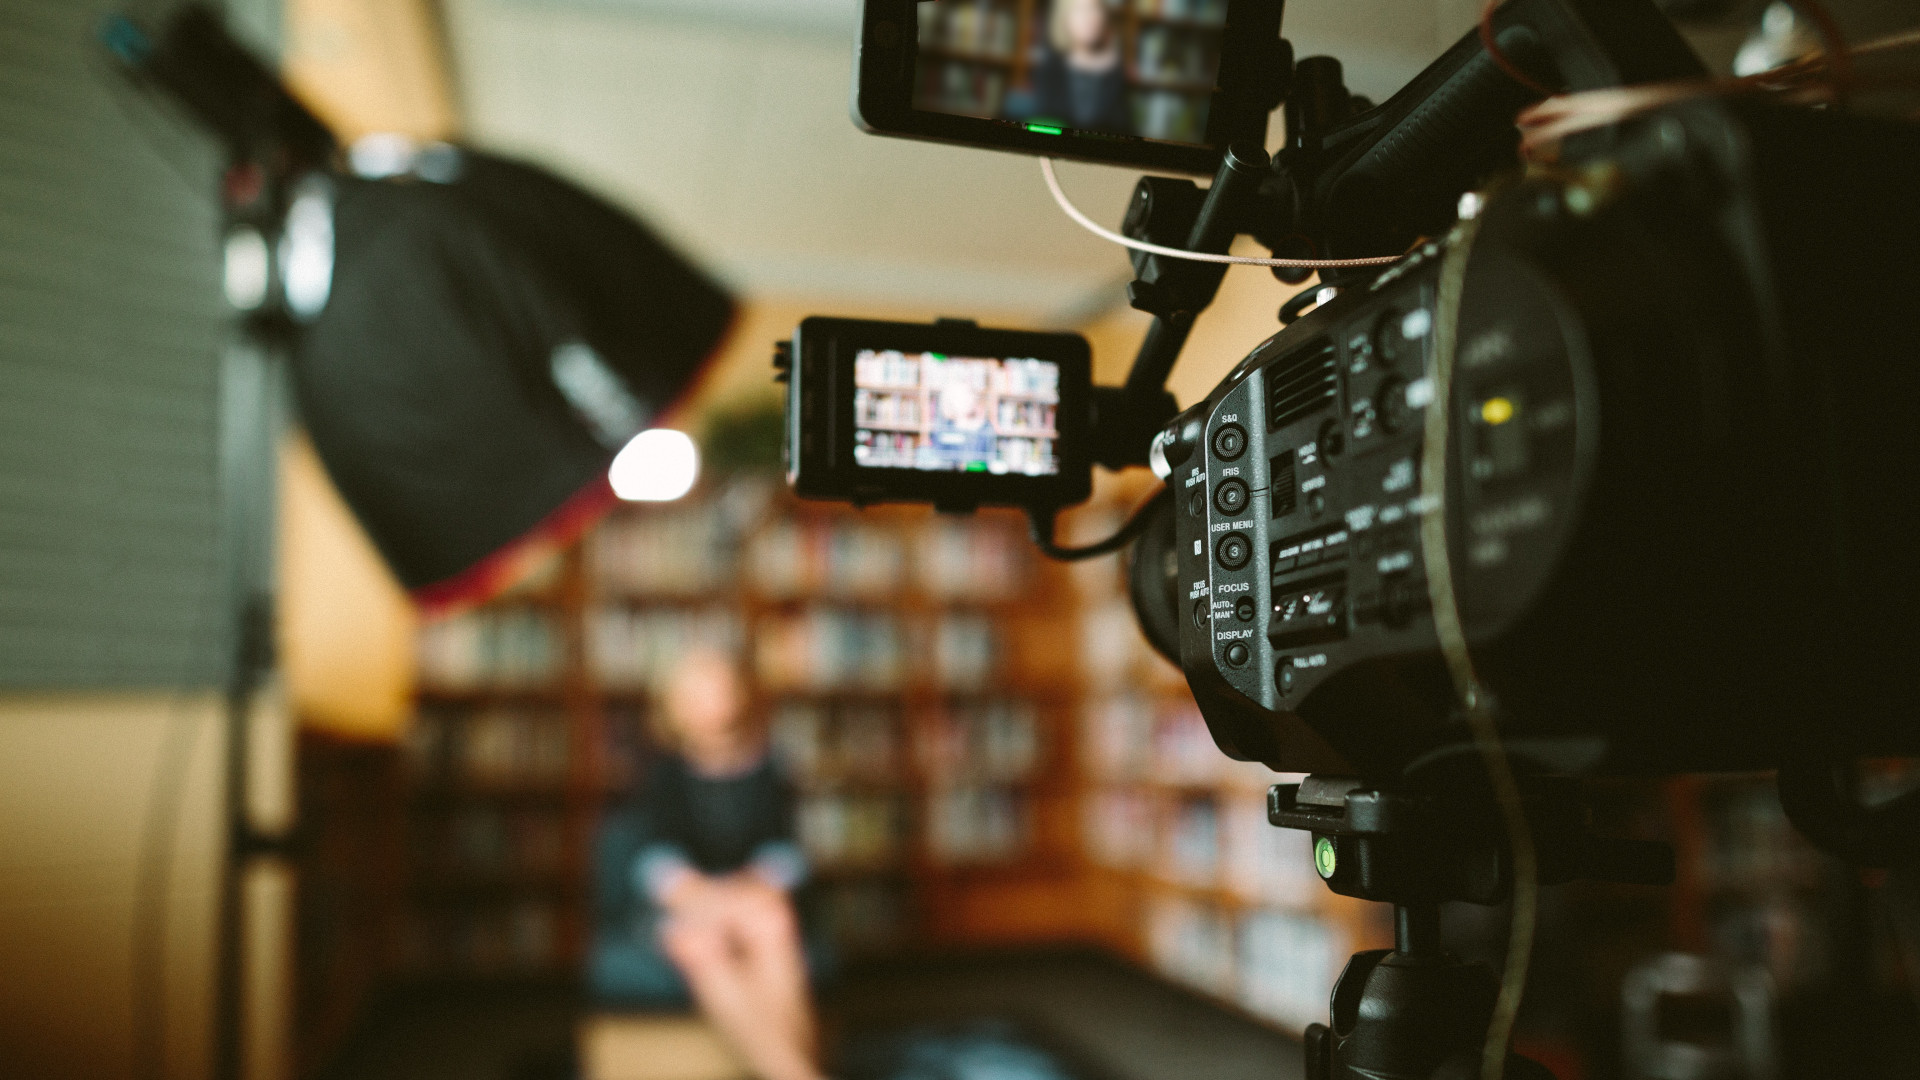
Let’s start with cameras. The camera gear that you use really depends on your budget. I love cameras and gear and if I had all the money in the world, I would buy the best most expensive cameras I could get my hands on. Luckily, you don’t need the best most expensive cameras to get started with video production. My recommendation is to buy what you can afford, start small and build your kit up over time as you learn and get better. You can always rent gear which is a great way to try stuff out before you buy.
When shooting interviews, you can benefit from using more than one camera to get different camera angles of your subject at once, which will help speed up the editing process.
Another cool trick to help with framing is to shoot your video in 4k or UHD and to edit your project in normal 1080p HD, this gives you more options to reframe your footage in the edit without losing quality and is especially useful when you’re filming on your own.
I like to use cameras with good autofocus and flip out screens when I’m shooting interviews on my own, this helps me to monitor two to three cameras at once whilst trusting the camera to keep my subject in focus.
Smartphone filmmaking.
If you have no budget for specialised camera gear, no problem, start filming on your smartphone. Many modern smartphones have incredible built-in video cameras capable of shooting HD and 4K footage. There are many smartphone filmmaking accessories available on the market that can greatly improve the quality of your videos. These are quite affordable and really great for when you’re just getting started. My favourite smartphone filmmaking accessory is a phone cage which comes with mounts where you can attach your phone, a light, and an external microphone, it also makes it easy to mount your phone onto a tripod for stable shots.
Audio.
Next up is audio. Audio is crucially important, as it could make or break your video. There are many different types of microphones and audio gear out there for many different budgets. If you are just getting started, invest in a shotgun microphone that you can mount on top of your camera or smartphone for better sound as built-in device audio is almost never great. I would also recommend that you invest in an external audio recorder; my favourite is the Zoom Hn6, it is a brilliant piece of gear and you can attach up to 4 microphones to it, it is also super portable. Try to avoid noisy or echoey places when you film. If you can’t avoid noise completely film or record some audio where no one is talking for a few seconds, this will give you an audio clip known as a scratch track that you can use in post-production to reduce the noise in your video. If you are filming outside and there is some crazy noise happening in the scene like roadworks or traffic, film the source of the noise to give it context, that way it won’t bug your audience too much as they know it should be part of the scene. Another thing to consider regarding audio onset is wind noise, this can really mess up your audio and unfortunately, you can’t always predict how the weather is going to react on the day, so it is a good idea to invest in wind covers, blimps or “dead cats” for your microphones.
Lighting.
Now we will move onto lighting. Lighting is a great way to set the mood in your videos and can be the difference between your videos looking professional or amateurish.
When you’re shooting interviews, you can use the three-point lighting technique to light your subject. First, you will set up a key light, this is usually positioned at an angle to the left or to the right in front of your subject, the key light is the main light source in the scene which illuminates your subject. Next, you will set up a fill light that is positioned on the opposite side of the key light in front of the subject, this light is not as bright as the key light and it is used to fill out the or reduce the shadows caused by the key light. And then finally a backlight is placed behind the subject at an angle with the light pointing towards the back of the subject, this light is set up a bit higher than the subjects head and gives the subject a nice halo which separates them from the background, this is also known as the rim-lighting technique.
If you don’t have studio lights or a lighting kit you can always make use of natural light, just make sure that you or your subject is lit from the front and at a slight angle. To help you fill in the shadows you can use a reflector to bounce light off your light source, like how you would use a fill-light in the three-point-lighting technique. Reflectors are relatively inexpensive, but if you have no budget you can just use a large piece of white cardboard or even a sheet, on any other reflective object really. One thing to avoid when using natural lighting is shooting straight into a bright light source behind your subject, like the sun or a window, this will silhouette your subject and will look unprofessional.
Stabilising and camera support equipment.
Every filmmaker needs a tripod in their kit, it is a great piece of gear that helps you get smooth stable shots. When investing in a tripod get a sturdy lightweight tripod with a fluid video head. Fluid tripod heads have handles that you can use to tilt and pan your camera with for smooth shots. You do get ball tripod heads but they are better for still photography, you can obviously use them for video but you won’t be able to get the smooth controlled shot that you can get with a fluid head.
Sometimes however it isn’t practical to shoot with a tripod, you might be in a run and gun situation where you need to be agile in which case you will need to shoot handheld. There are techniques that can help you to get stable shots whilst shooting handheld; if you’re filming with a DSLR put the camera strap behind your neck and pull the camera tight in front of you and move your body as smooth as possible, shifting your weight slowly from one foot to another, this will help give you smooth enough shots that you can stabilise in post-production.
Other image stabilising and camera support equipment includes monopods, gimbals, jibs, dollies, sliders, and shoulder rigs.
Lenses!
Lenses are amazing! They create such a great atmosphere and mood in your scenes and are fantastic creative visual tools. They can be expensive, but most lenses keep their value quite well and you can sell them once you can afford better ones.
You basically get two types of lenses, prime lenses and zoom lenses. Prime lenses are fixed focal length lenses which mean they can’t zoom, if you want them to zoom you have to zoom with your feet, meaning you have to physically move the camera closer or further away from your subject. Prime lenses are more expensive as they produce better image quality and buttery shallow depth-of-field (beautiful blurry backgrounds), they are also known as fast lenses as they allow for faster shutter speeds and perform really great in low light conditions.
Zoom lensed do just that, they zoom, which makes it really easy to reframe your subject. Zoom lenses are great in run and gun situations, like news or journalism situations where you must think on your feet and quickly reframe your shots.
Memory cards and batteries.
Memory cards and batteries are crucially important, you must make sure that you have enough card space and battery power for the duration of your shoot. Try to buy as many memory cards and batteries that you can afford; it is always good to have spares. Put batteries on charge once they run flat whilst you shoot so that they are ready to use once the next one runs flat. When investing in memory cards get class 10 cards with high read and write speeds of at least 90MB/s.
Once the shoot is done make sure that your memory cards are locked so that you don’t delete any footage by mistake. If you can, invest in a dedicated external hard drive for the shoot and back up all your footage to it as it is always a good idea to have your footage stored in one place.
And that is a wrap on the Production Stage of the Video Production Process. In the next post, I will discuss the Post-production Stage and I will explain how to edit and distribute your video.
See you in the next post where I discuss the Post-Production Stage of the Video Production Process in detail.


